Building a custom home is an exciting journey, but it can feel overwhelming without a clear understanding of the process.
From the first planning stages to the final walkthrough, each step plays a critical role in ensuring your new home is built correctly, efficiently, and to your exact specifications.
Below is a step-by-step guide to the custom home building process so you know what to expect from start to finish.
Step 1 – Planning and Budgeting
Before construction begins, careful planning and budgeting are essential.
This phase involves defining your goals, determining your overall budget, and deciding on the size, layout, and features of your custom home.
Homeowners typically work with a builder to evaluate costs, timelines, and feasibility while aligning expectations early in the process.
Proper planning helps avoid delays, unexpected expenses, and design changes later on.
Step 2 – Design and Architectural Plans
Once your vision and budget are established, the design phase begins.
Architectural plans are created to outline the home’s layout, structural elements, and aesthetic details.
This stage often includes selecting floor plans, exterior styles, room layouts, and major systems.
Detailed design plans ensure that construction runs smoothly and that all elements of the home meet local building codes and engineering requirements.
Step 3 – Permits and Approvals
Before breaking ground, permits and approvals must be secured from the appropriate local authorities.
These permits typically cover zoning, structural work, electrical systems, plumbing, and mechanical components.
The permitting process ensures that the home complies with safety regulations and building standards.
Working with an experienced builder can streamline approvals and prevent costly delays.
Step 4 – Site Preparation and Foundation
After permits are approved, site preparation begins.
This includes clearing the land, grading the site, and preparing utilities.
Once the site is ready, the foundation is poured. The foundation is one of the most critical components of the home, as it supports the entire structure.
Proper curing and inspection during this phase are essential to long-term stability and durability.
Step 5 – Framing and Structural Construction
With the foundation complete, framing begins.
This stage creates the skeleton of the home, including walls, floors, and roof systems. Framing defines the layout of rooms and brings the architectural plans to life.
During this phase, inspections are conducted to ensure structural integrity before moving forward.
Step 6 – Mechanical, Electrical, and Plumbing Systems
Once framing is complete, essential systems are installed.
This includes electrical wiring, plumbing lines, HVAC systems, and other mechanical components. These systems must be carefully coordinated to meet building codes and performance standards.
After installation, inspections are completed to confirm safety and compliance before walls are closed.
Step 7 – Insulation, Drywall, and Interior Finishes
After system inspections are approved, insulation and drywall are installed.
This phase improves energy efficiency and prepares the interior for finishes. Interior work then continues with flooring, cabinetry, countertops, painting, and trim.
These finishes bring personality and functionality to the home and represent a major portion of the visual transformation.
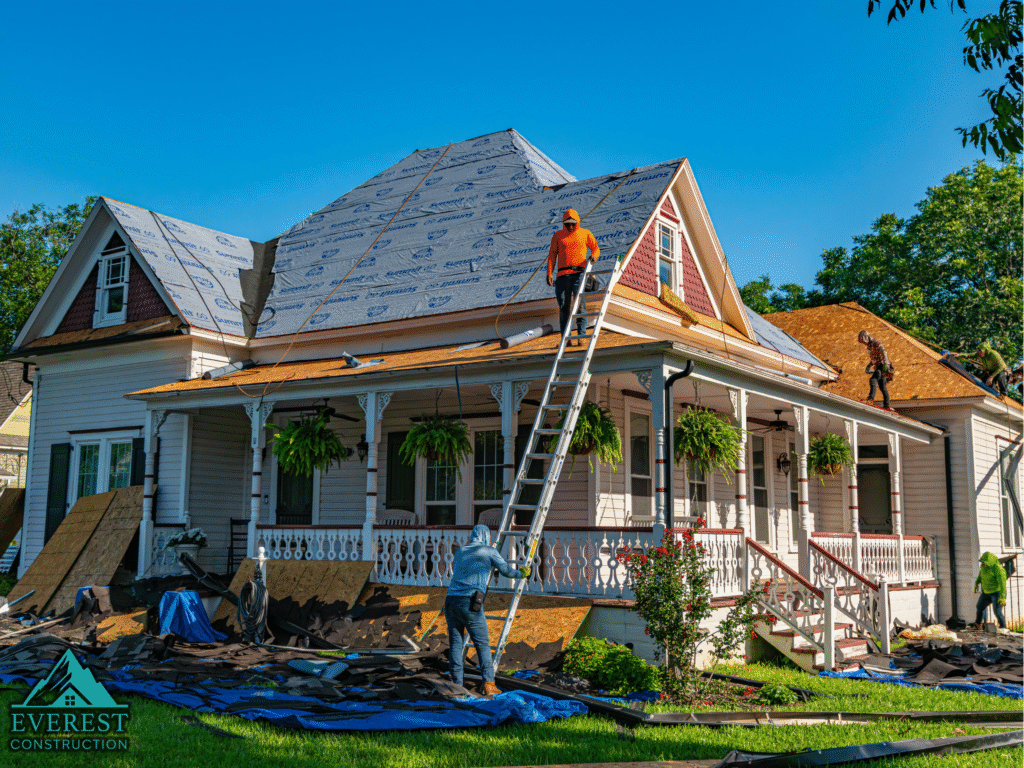
Step 8 – Exterior Finishes and Landscaping
While interior work progresses, exterior finishes such as siding, stucco, roofing, and windows are completed. Driveways, walkways, and landscaping are often addressed during this stage as well.
Exterior elements not only enhance curb appeal but also protect the home from the elements and improve long-term durability.
Step 9 – Final Inspections and Walkthrough
Before move-in, final inspections are conducted to ensure the home meets all building codes and safety standards.
A walkthrough with the builder allows homeowners to review completed work, address minor adjustments, and confirm that all features function properly.
This step ensures peace of mind before taking ownership of the home.
Step 10 – Move-In and Post-Construction Support
After final approval, the home is ready for move-in.
Many builders provide post-construction support or warranties to address any issues that may arise after occupancy.
Understanding maintenance requirements and warranty coverage helps homeowners protect their investment and enjoy their new custom home with confidence.
How the Custom Home Building Process Can Vary by Location
While the core steps of building a custom home remain consistent, timelines and requirements can vary depending on location.
Factors such as local permitting processes, climate conditions, and labor availability can influence how long each phase takes.
Working with a builder familiar with local regulations and construction practices helps ensure a smoother experience.
Why Working with an Experienced Builder Matters
Building a custom home involves many moving parts, and having the right builder makes all the difference.
An experienced construction team coordinates each phase, manages inspections, maintains quality standards, and communicates clearly throughout the project.
This expertise reduces stress and helps deliver a home that meets both expectations and budget.
Start Your Custom Home Project with Confidence
If you’re considering building a custom home and want expert guidance through every step of the process, Everest Remodeling is here to help.
Our team provides professional construction services, transparent communication, and quality craftsmanship from planning to move-in.
Whether you’re exploring options or ready to get started, we’re happy to discuss your project.
Call Us Or Schedule a Consultation for Custom Home Construction